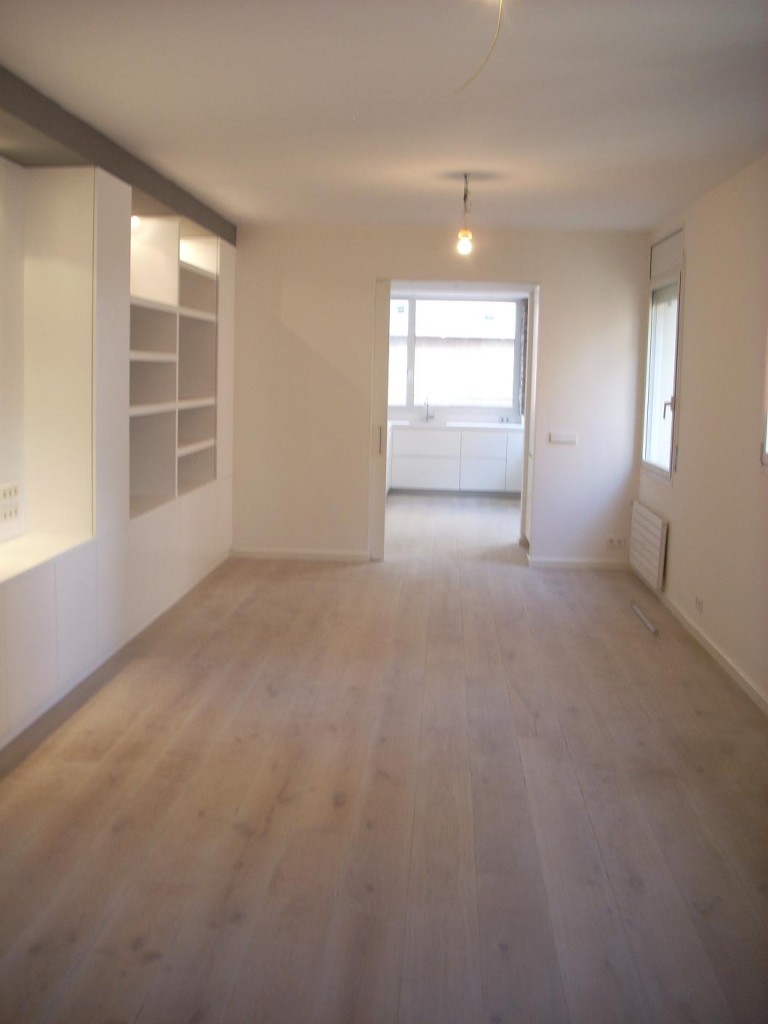
How to smooth walls and to remove the gotelét
How to Smooth Walls and Properly Remove Popcorn Texture
Removing popcorn texture (gotelé) remains one of the most requested renovations in Barcelona. Although it was the standard finish for thousands of homes for decades, today most homeowners look for completely smooth walls to achieve more modern, bright, and easy-to-maintain spaces.
However, smoothing a wall is not just about applying putty over the texture. The result will depend on the type of existing paint, the condition of the surface, and the method used during preparation. Choosing an incorrect procedure can cause peeling, cracking, or detachment just a few months after finishing the job.
At A. Barcelona Reformas, we have been carrying out wall smoothing work since 2003. During these years, we have removed thousands of square meters of popcorn texture in all types of homes: newly built apartments, historic estates (fincas regias), buildings from the 60s and 70s, homes with distemper paint and walls that had been repainted numerous times.
In this guide, we explain how to remove popcorn texture step by step, which method is most suitable for each case, and what the most common mistakes are to achieve a completely smooth, resistant, and durable finish.
If, besides removing the texture, you are thinking about a complete renovation of your home in Barcelona, you can learn how we work and request a no-obligation quote.
The First Step: Identify the Type of Popcorn Texture
Before starting any work, it is important to know what type of texture the home has. Not all walls can be treated the same way, and using an incorrect procedure can cause the new coating to eventually detach over time.
In our experience, most problems arise precisely for this reason. Many people start covering the texture directly with putty without first checking what type of paint it is applied on.
1. Popcorn Texture over Distemper Paint
This is common in homes built several decades ago. Distemper paint has low resistance to moisture and usually releases a white powder when rubbed with your hand.
In these cases, it is usually necessary to remove or properly consolidate the surface before starting to smooth. If this preparation is not done, the new putty may lose adhesion.
2. Popcorn Texture Painted with Plastic Paint
This is the most frequent case in current renovations. The texture has already been painted one or more times with plastic (latex/acrylic) paint, forming a much more resistant surface.
Although it is more stable, it also needs proper preparation to achieve correct adhesion of the smoothing material.
Professional Tip: before deciding on the work method, we always check the condition of the surface. A correct diagnosis prevents subsequent detachment and ensures that the finish remains perfect for many years.
How We Smooth a Wall with Popcorn Texture
After hundreds of renovations, we have verified that a good finish does not depend solely on the quality of the putty. Most of the success lies in the prior preparation of the surface. A poorly prepared wall may look perfect when the work is finished and start to show cracks or detachment just a few months later.
For that reason, we always follow the same procedure, adapting it only to the condition of each home.
1. Surface Inspection
Before starting, we check if the existing paint shows a lack of adhesion, hollow areas, moisture, cracks, or traces of distemper paint. This review determines the most appropriate work method.
2. Surface Preparation
We fully protect the home, remove small imperfections, and leave the surface ready to receive the smoothing treatment.
3. Application of Bonding Primer
Before applying the first layer of plaster, we use a layer of vinyl latex with a paint roller, which significantly improves adhesion to the existing surface. This step helps consolidate the surface and increases the durability of the final finish, especially on old walls or those with different layers of paint. We do not just look for the wall to be smooth the day we finish the work. Our goal is for it to remain just as stable ten or fifteen years later. That is why we spend so much time properly preparing the surface before applying any coating.
4. Wall Smoothing and Sanding
Once the latex is dry, we apply a layer of “Yeso Mecafino banda azul” (2-3 millimeters) from bottom to top using a trowel. If we need to apply a second layer because the popcorn texture is very thick, we apply it. Afterwards, we sand slightly with medium-grit sandpaper. It doesn’t need to look perfect by any means. Once dry, we apply a layer of “Extraplas Amarillo 24h capa fina en polvo” (1 millimeter). Next, we sand with a fine grit. We use this material because it is much easier to sand over than a finish with “Yeso Mecafino” or another product. It might sound minor, but sanding a wall with this product takes only 5 minutes. We apply several coats of renovation putty until the popcorn texture is completely eliminated. Between layers, we let the material dry and fix any small imperfections that may appear.
5. Inspection
During the sanding phase, we use grazing light to detect even the smallest irregularity. It is a slow stage, but essential for achieving completely smooth walls. To make the job easier, you can use special wall and ceiling sanders with built-in dust extraction. You will save many hours.
6. Priming and Painting
As a final finish, we apply an appropriate primer and then two coats of premium quality plastic paint, resulting in an even, resistant surface that is built to last for many years.
⚠ An important detail: many companies remove popcorn texture by applying putty directly onto the wall. We prefer to prepare the surface beforehand with a suitable binder when surface conditions require it, as good adhesion is essential to avoid problems over the years.
Is it better to remove popcorn texture or cover it with putty?
This is one of the questions our clients ask us the most, and the answer is simple: it depends on the type of wall. There is no single valid method for every home.
On many occasions, it is perfectly possible to smooth a wall by applying a renovation system over the existing texture. However, when the surface shows adhesion problems, degraded distemper paint, or damaged areas, it is highly recommended to clean and repair the surface before proceeding.
When can the popcorn texture be kept?
- When the paint is perfectly adhered.
- When there is no moisture or peeling.
- When the texture’s relief allows it to be correctly covered by the smoothing system.
- When the surface is stable and shows no movement.
When should the existing coating be removed?
- If there is degraded distemper paint.
- When peeling or hollow areas appear.
- If there are several old layers of paint with poor adhesion.
- When the surface shows moisture or poorly executed repairs.
At our company, we do not always apply the same procedure. First, we analyze the actual condition of the wall, and based on that diagnosis, we choose the most appropriate solution to guarantee a resistant and durable finish.
Professional Tip: trying to save time by applying putty over a poorly prepared surface usually ends up being much more expensive. Correct surface preparation is a significant part of the overall job’s success.

How much does it cost to remove popcorn texture and smooth walls?
This is one of the most frequent questions, but there is no single price. The cost of removing popcorn texture depends mainly on the condition of the walls, the type of existing paint, and the amount of preparation work required before smoothing.
Two homes with the same square meters can have very different budgets if one features distemper paint, numerous repairs, or several old layers of paint, while the other has a surface in good condition.
The Factors That Influence the Price Most
- Total surface area of walls and ceilings.
- Surface condition and need for repairs.
- Whether the popcorn texture is applied over distemper paint or plastic paint.
- Ceiling height.
- Empty vs. fully furnished property.
- Protection of furniture and flooring.
- Quality of materials used.
- Whether the job includes the final painting as well.
At our company, we always prefer to carry out a preliminary site visit before drawing up the quote. This allows us to check the actual condition of the walls and offer a tailored price, avoiding unforeseen expenses during the execution of the works.
💡 Our Advice: be wary of flat-rate quotes prepared solely based on square footage. Without previously checking the condition of the surface, it is impossible to correctly assess the work needed to achieve a high-quality finish.
Most Common Mistakes When Removing Popcorn Texture
Although it may seem like a straightforward job, removing popcorn texture requires knowing the condition of the surface perfectly and using the right materials. Over more than twenty years of carrying out renovations in Barcelona, we have seen many jobs that had to be redone due to mistakes made during wall preparation.
These are some of the most common failures we encounter when visiting properties where a previous smoothing attempt has already been made.
1. Applying Putty Directly onto Any Wall
Not all surfaces offer the same adhesion. Before starting, it is essential to check for distemper paint, damaged areas, or a lack of cohesion in the substrate.
2. Failing to Properly Consolidate the Surface
When the wall requires it, we first apply a layer of bonding primer (latex) to improve the plaster’s adhesion and achieve a much more stable and durable finish.
3. Believing That a Single Layer of Putty Is Enough
Popcorn texture rarely disappears completely with a single application. To achieve a perfectly smooth surface, several coats of plaster are usually required, always respecting the drying times.
4. Sanding Before the Material Has Hardened
Rushing this process can cause tearing, marks, and an irregular surface that is much more difficult to correct later on.
5. Painting Without Primer
The primer evens out the surface absorption and improves the adhesion of the final paint. Skipping this step usually leads to color tone variations and lower resistance over time.
6. Looking Solely for the Cheapest Price
A good smoothing job relies far more on wall preparation than on execution speed. When crucial steps are eliminated to cut costs, problems usually emerge months after the project is completed.
Professional Tip: a perfectly smooth wall is not the one that looks best the day the renovation ends, but the one that remains just as stable ten or fifteen years later. The difference usually lies in surface preparation—a job that isn’t seen, but is decisive for the finish’s durability.
How Long Does It Take to Smooth Popcorn Walls?
Another very common question is how much time a home needs to completely eliminate popcorn texture. The answer depends on numerous factors, although in most cases the timeframe is determined by the condition of the walls and the drying times required by the different materials. Doing the work in summer is not the same as doing it in winter.
It is important to understand that a quality job cannot be artificially rushed. Respecting drying times between layers guarantees proper adhesion and prevents future issues such as cracks, blisters, or peeling.
Factors Influencing Job Duration
- Total surface area of walls and ceilings.
- Substrate condition.
- Number of layers required to achieve a completely flat finish.
- Ambient temperature and humidity.
- Need to repair cracks or flaws.
- Drying time between applications.
- Final paint and choice of finish.
In a medium-sized home, the process usually takes place over several days, as we alternate putty applications, drying times, sanding, checking under grazing light, priming, and painting. Trying to cut down these times typically impacts the quality of the final result.
Professional Tip: if a company guarantees to remove popcorn texture from an entire home in a very short time, it is wise to ask how many plaster layers they will apply, how long they will allow each to dry, and how they will check the final levelness of the walls.
What Usually Appears When We Remove Popcorn Texture
Many people think that removing popcorn texture simply consists of covering the wall’s relief with a layer of putty. However, the reality is very different. Popcorn texture has been hiding small imperfections for decades that go completely unnoticed until the surface becomes smooth.
In most renovations, we discover defects that were not visible before starting work. Correcting them is part of the process if we want to achieve a truly professional finish.
The Most Common Defects We Find
- Small cracks hidden under several layers of paint.
- Walls with waves or a lack of flatness.
- Old, poorly repaired installation chases.
- Poorly defined transitions between walls and ceilings.
- Corners damaged by impacts or previous renovations.
- Poorly aligned electrical mechanism boxes.
- Traces of plaster, mortar, or poorly executed old repairs.
- Differences in absorption caused by different materials.
Precisely for this reason, not all properties require the same number of plaster coats or the same preparation time. Each wall has a different history and needs specific treatment to achieve an even finish.
Professional Experience: on many occasions, we spend more time correcting small hidden imperfections than removing the popcorn texture itself. This is a task that the client barely notices during the renovation, but it makes all the difference when the light hits the finished walls.
That is why we use grazing light during the inspection phases. A wall may look perfectly smooth with frontal lighting and yet show small ripples when it receives side light from a window or a lighting fixture. Detecting and correcting those imperfections before painting is what separates an acceptable finish from a high-quality finish.
What We Have Learned After Hundreds of Homes
Since we began our activity in 2003, we have smoothed walls in properties from practically all eras: apartments in the Eixample, historic estates from the early 20s, apartment blocks built during the sixties and seventies, modern developments, and even homes previously renovated by other companies.
If there is one thing we have learned over all these years, it is that no wall is exactly like another. Two apartments built in the same building may need completely different treatments due to renovations carried out over time.
Our Work Philosophy
We never begin a smoothing job thinking solely about covering the popcorn texture. First, we analyze the condition of the substrate, identify possible hidden problems, and decide on the most appropriate system for that specific property.
It may seem like a slower process, but it is precisely this preparation that allows the walls to remain smooth and stable many years after the renovation is finished.
Our Experience: a perfectly smooth wall does not rely solely on a good putty or quality paint. The true result begins much earlier, during substrate preparation. It is a part of the job that is almost never seen, but it is what determines the quality of the finish over the following years.


About the author